Don't want to stand Browsebit ads like these?
- Numerous unwanted ads take over your screen.
- You're forced to visit some unknown or even malicious pages by its ads.
- New toolbars or unknown programs can come to your system automatically.
- Ads by Browsebit run in the background every time you start up your machine to make your PC freeze from time to time.
- Your search items and your confidential information may be collected and divulged to third parties.
More information about Browsebit ads
Want a quick way to remove it? >>Click here for the Recommended Security Tool.
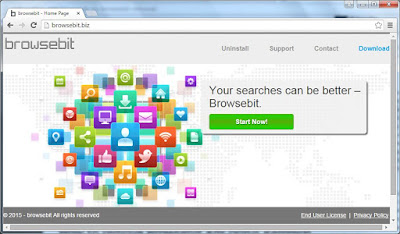
Browsebit is categorized as a potential unwanted program (also called PUP) which can trouble you so much. It claims to help you with browsing experience but it brings troubles instead. Typically, this program comes to your PC bundled with freeware or shareware. You also may download it yourself thinking it a useful tool. After it got to your system, it may bring you tons of unwanted ads. Those ads are compatible with almost all versions of browsers. You need to take actions to get rid of it.
Browsebit screenshot
Solutions that worth of your trying
Solution 1: Manually remove it yourself by following the guides below.
Solution 2: Automatically remove it by using SpyHunter.
Manual Steps
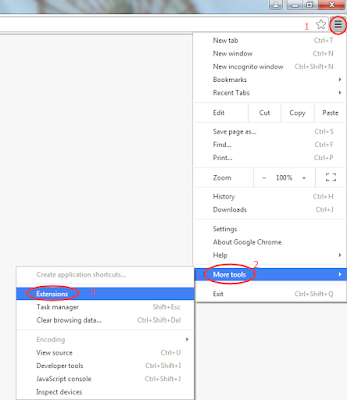
Step 1: Remove ads by Browsebit from your browser. (Take Google Chrome for example.)
Menu icon>>More Tools>>Extensions.
Search for related ones and remove them by clicking on the trashcan icon.
Your other browsers also need this step.
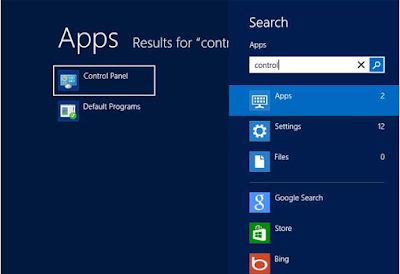
Step 2: Uninstall all related programs from your system.
For Windows 8:
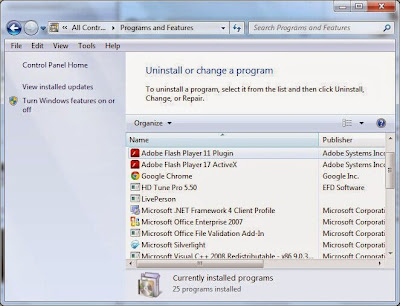
Click Start Menu first and then click Search. Select Apps and then click Control Panel. Then the Uninstall box will come to you. You just need to find related programs and uninstall them.
You also need to find Control Panel by clicking Start Menu. Focus on Uninstall and look for what you want to uninstall. Select the ones you find and uninstall them.
You won't need to take this step unless you find the ads coming back again and again.
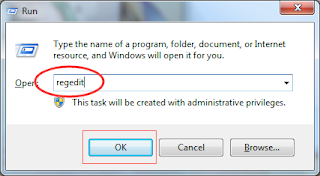
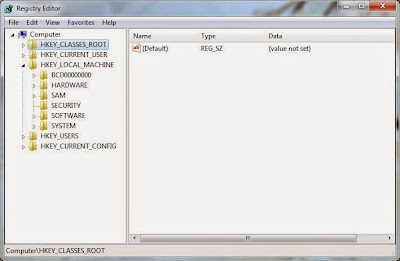
Click Start menu to find "Run". Do as the pictures below guide you and delete related files.
Automatic Steps
Step 1: Download SpyHunter to kill ads by Browsebit.
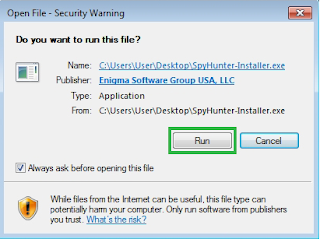
Use the safe link here to avoid unnecessary threats.

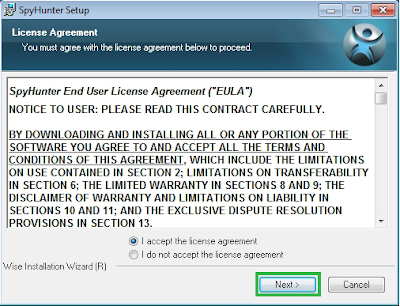
Run the downloaded file and accept the installation agreement.
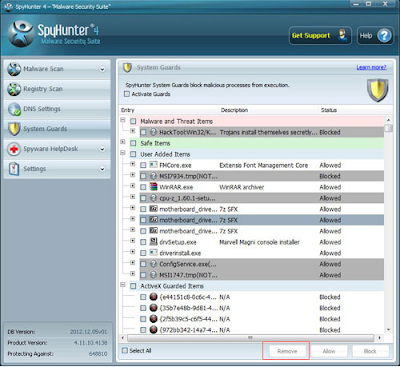
Step 2: Run SpyHunter and scan your whole PC.
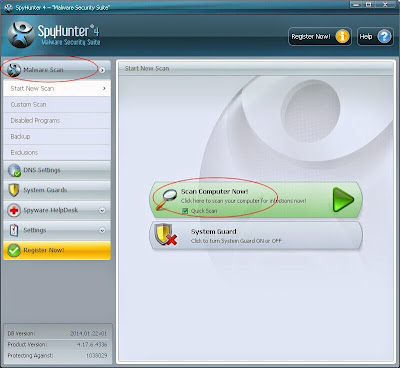
Step 3: Tick "Select All" and click "Remove" to get rid of all the problems.
Optional steps help you to optimize and speed up your PC
It's a clean master with the function of restoring errors like Windows update error, and files with the suffix name "dll" or "exe". It can also speed up your PC by cleaning the left files of unwanted programs and repairing errors.
Step 1: Download RegCure Pro!
(Downloading removal tool from here authorized by relevant official site won't worry you. This can also help you avoid getting pirate software or other malware accidentally.)

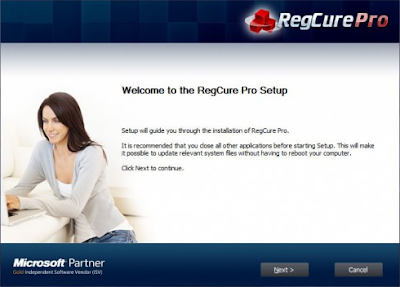
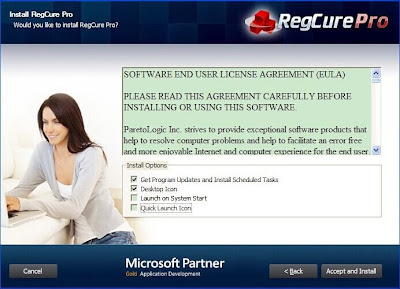
Step 2: Follow the installation guides to install RegCure Pro step by step.
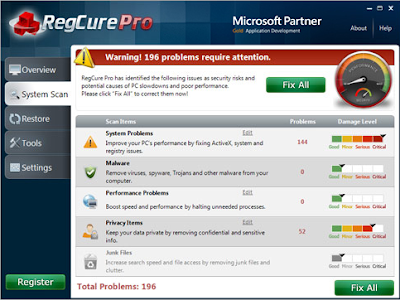
Step 3: Launch RegCure and scan for Browsebit ads.
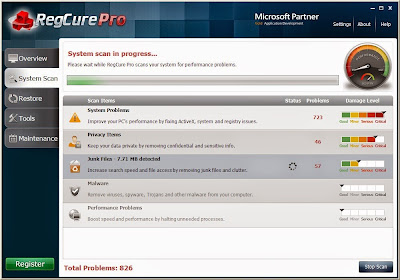
Step 4: By clicking "Fix All", you can get rid of all the components which make your machine clumsy.
For good
Since Browsebit, as a PUP coming secretly, may lead other computer threats to your machine. You're suggested to eliminate it timely so as to avoid unnecessary threats. If you're not a computer savvy, you'd better use SpyHunter to remove it ASAP. After the manual removal, you may need RegCure to check and optimize your PC.
No comments:
Post a Comment